

Kitchen Extension - Eastleigh Grove Project
- info8374259
- Feb 17, 2022
- 3 min read
The following work was carried out by our company. The images show the stages of a kitchen extension which we completed, together with interior design work and coordination of all kitchen appliances and integration to form a modern 21st Century Kitchen.


Left: Opening up of the floor to level the joists and re-plumbing and re-diversion of all pipes old and new. Floor void below showing service spaces.
When you really want to build, you start from the foundations up. There's no point having a golden roof on a temple, if the foundations are rotten.


Left: Roof light added to let light into the central part of the kitchen. With rear kitchen extensions, when additional depth is created, natural light cannot reach the furthest wall in the new part of the kitchen extension. The velux roof light solves this problem.
Left: Roof light from above. The roof light installed was a wireless solar powered rooflight, where the frame of the rooflight charges the cells, which allows the roof light to open and close with the aid of a remote.

Left: Plastering
After smoothly plastering all the walls, it was evident how much of a difference the rooflight made to the space. To avoid the low ceiling heights. The ceiling was also angled to make the space larger. The space one could say was becoming architectural and the house was beginning to change.

Left: Kitchen units:
Installation of handleless kitchen Units. The strip lighting under the kitchen worktop was installed. The light spacing is equal and you don't see the dotted light effect from the stick on LED lights that so many kitchen manufacturers have on display. The fusion of light is equally spaced and in turn they can be controlled on 3 settings, dim, bright and ultra bright.
Paintwork: After two coats of undercoat, and two coats of orange. A vibrant orange was achieved. The paint was purchased by visiting a Dulux centre. The paint is made the exact way you want it, (rather than the standard watered down paint cans you can get at DIY centres.) using colour charts to guide you. Always choose the best five colours for any room and narrow down to the best three and choose the one colour that will match with your furniture and room.

Left: The skylight was painted bright yellow to give the effect of sunlight and natural light fusing during the evenings. The units are beginning to fill the space that was there. The wiring is for the spotlights that will light up the kitchen.

Left: Junction detailing, everything has to be precise, the set up we call it has to be within mm, you can't be 1mm out when it comes to fitting kitchens, the greater the number of units the greater the tolerance error.
German detailing at its best!
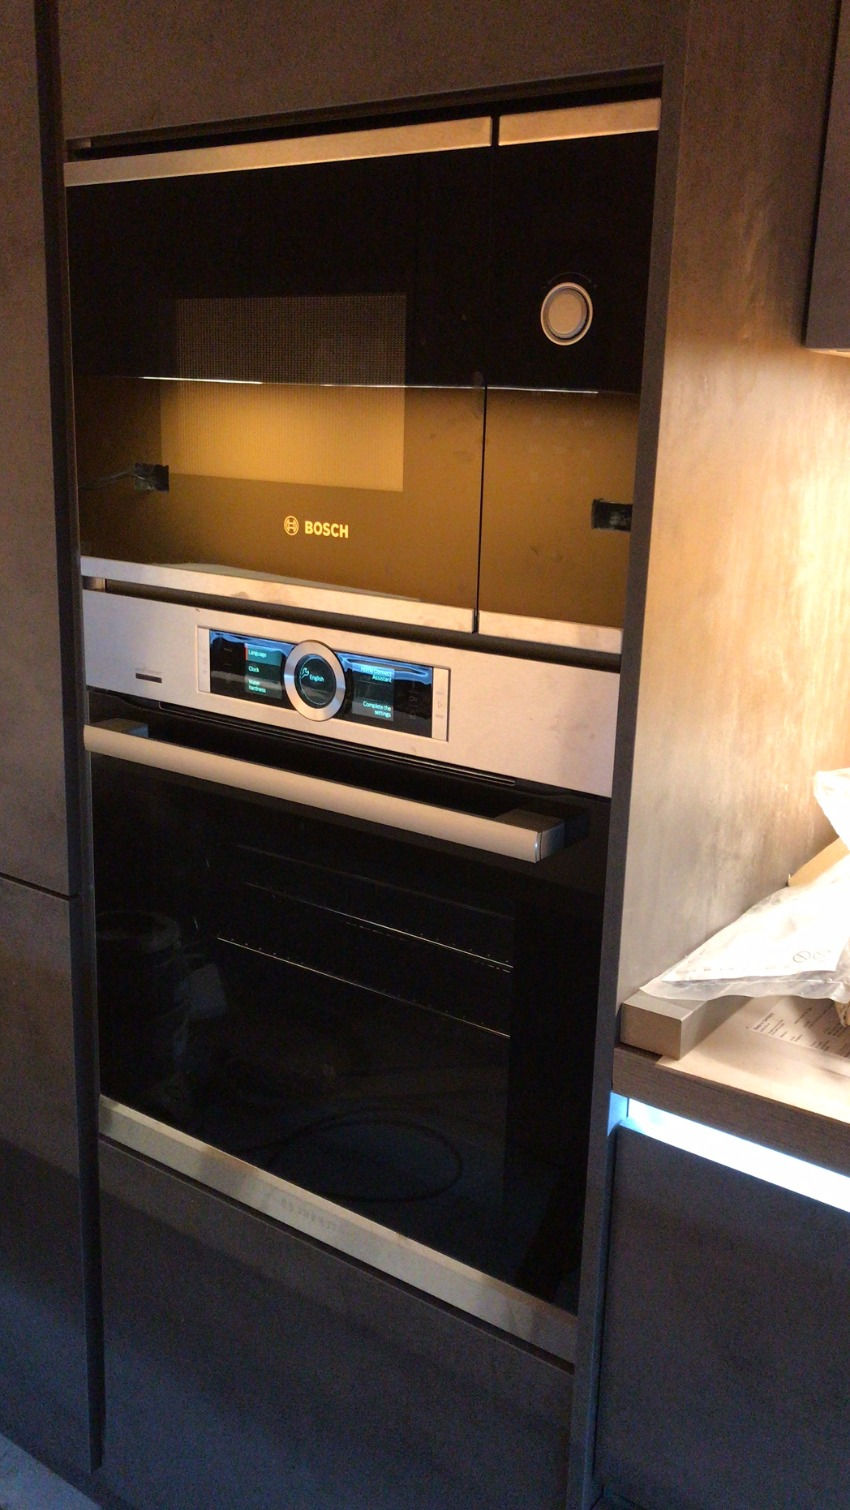
Left: The appliances are fitted into the units, always Bosch! you can see the effect of how the lighting plays with the new kitchen units, the grey and the orange, the fusion of yellow and white and blue, even the coloured LED digits from the appliances have been thought about.

Left: Worktop and appliances fitted. The floor was tiled with large porcelain tiles, minimising the grout zones in the kitchen, allow for easier maintenance for spillages etc.
Yellow skylight area visible in the roof.
Base units were dark grey, whilst the units above were light grey.

Left: Fit out, kitchen design and installation completed.


Comments